 AIM SECTOR
Delta Force The Mog Guide: Map, Convoy & Objectives
Complete Delta Force The Mog guide covering Attack and Defend, the convoy, Sectors A-C, C2, Military Radio, Black Hawk support, attacker and defender strategies, and current map changes.
Delta Force The Mog Guide: Objectives, Convoy, Sectors & Best Strategies
The Mog is Delta Force's 32v32 Warfare map set across the war-torn streets of modern Mogadishu, combining dense infantry combat with a moving convoy objective, Attack and Defend sectors, secondary objectives, and UH-60 Black Hawk air support.
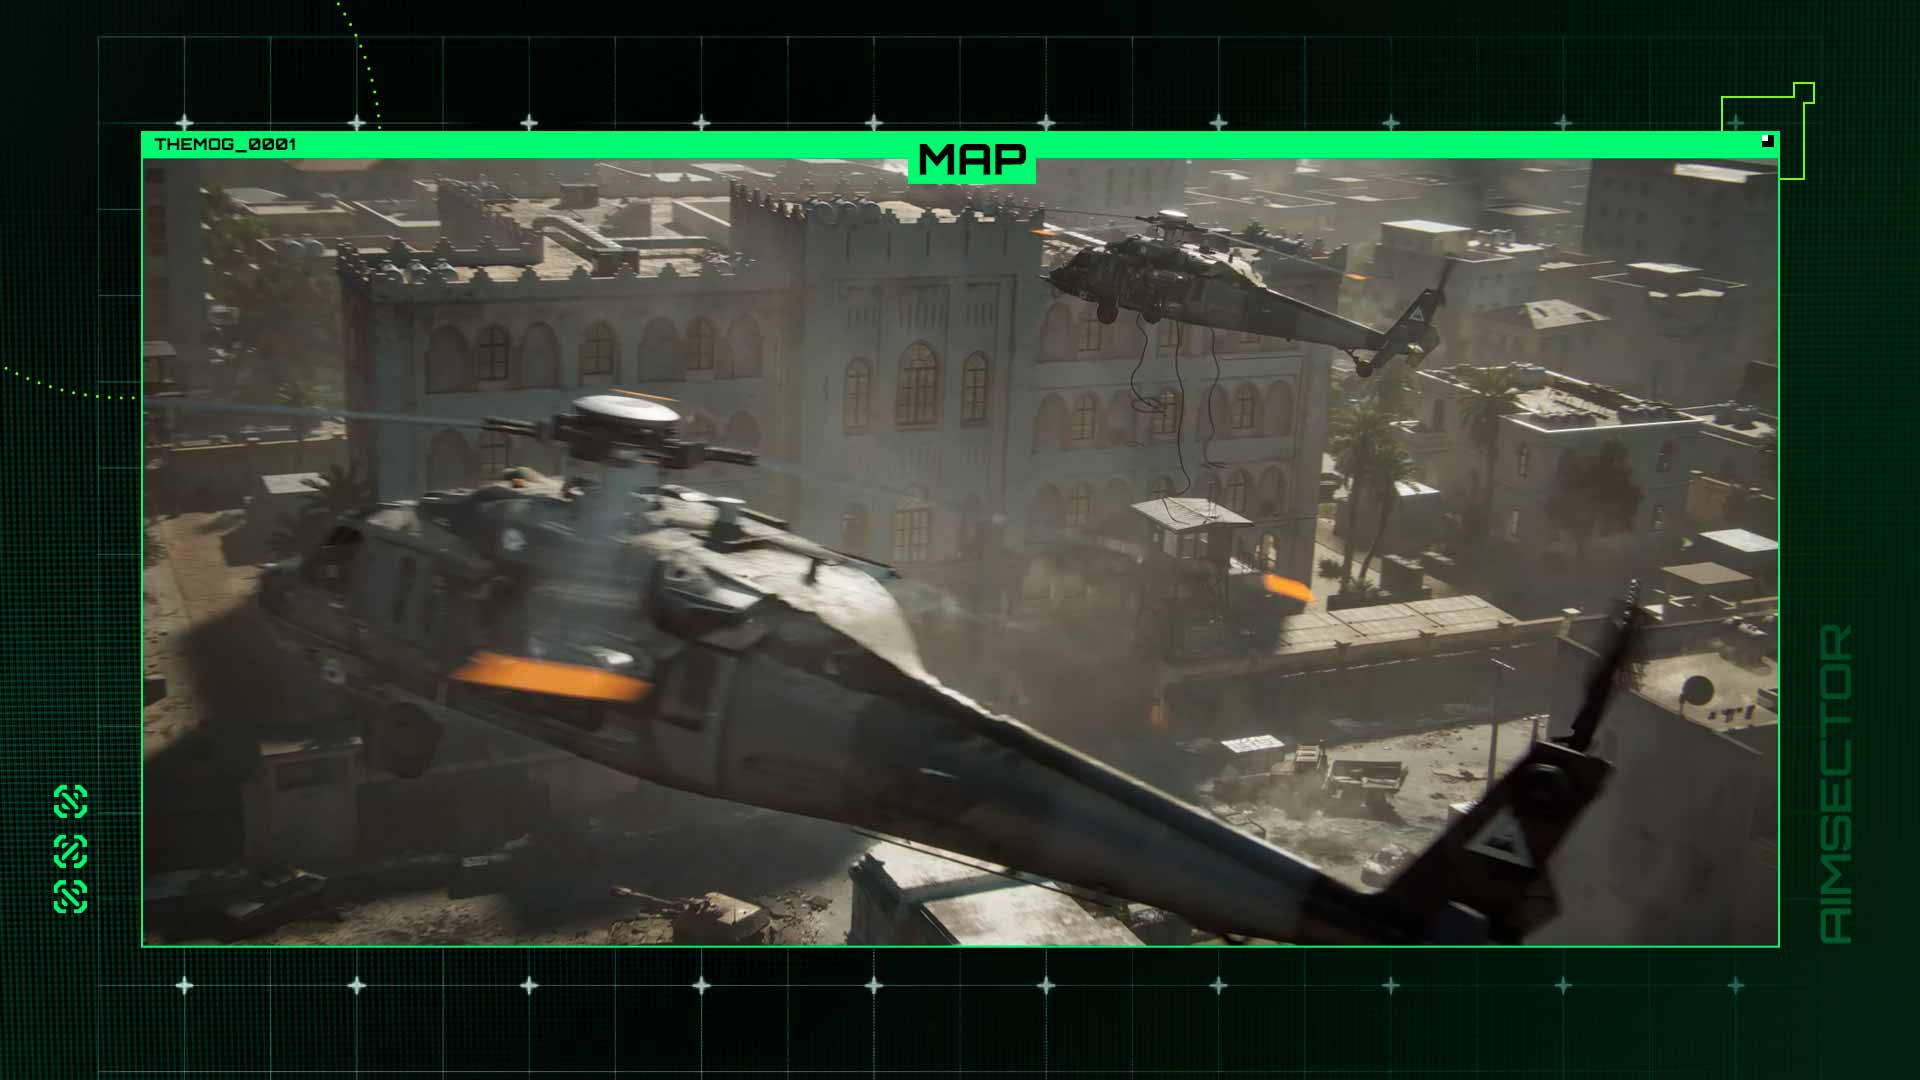
Team Jade released The Mog on September 8, 2026 with the Reorientation season. The map deliberately returns Delta Force to its Black Hawk Down roots, but converts that setting into a live 64-player Warfare battlefield rather than the separate co-op campaign. Delta Force officially describes The Mog as intense infantry street warfare with moving-objective battles and Black Hawk suppressive air support.
The most important thing to understand is that The Mog is not just about capturing whichever objective is currently marked on your HUD. The supplied strategy video makes that point directly in its title — Why Taking C Doesn't Always Win — and the current map rules support it. C2 was changed into a Secondary Objective, while the convoy, remaining sector state, timer, Last Stand conditions, deployment positions, and Military Radio can all affect how the battle develops.
That makes The Mog one of Delta Force's more unusual Warfare maps. Winning requires understanding what the current objective actually does, not simply following the largest letter on the screen.
Delta Force The Mog quick guide
| Feature | The Mog |
|---|---|
| Mode | Warfare |
| Maximum players | 32v32 / 64 players |
| Setting | Modern Mogadishu / Black Hawk Down-inspired battlefield |
| Main structure | Attack and Defend with a moving convoy phase |
| Key sectors | A, B, and C |
| C2 | Secondary Objective |
| Convoy timer | Starts at 4:30, with +45 seconds at each checkpoint |
| Special mechanic | Last Stand around the convoy |
| Interactive objective | Military Radio |
| Air support | UH-60 Black Hawk |
| Best general playstyle | Close-to-mid-range urban combat, objective pressure, flanking, revives and anti-vehicle utility |
The Mog has already received two significant balance passes since launch, so older launch-day videos can show different spawn positions, capture areas, convoy durability, and objective behavior from the current map.
What is The Mog in Delta Force?
The Mog is a Warfare map, not an Operations map.
Warfare is Delta Force's large-scale multiplayer mode, supporting up to 64 players in 32v32 battles. Players respawn, use their Warfare weapon builds, deploy vehicles and Operator abilities, and fight over objectives rather than looting and extracting gear.
The Mog puts that format into a dense urban environment inspired by Mogadishu and the franchise's Black Hawk Down history.
Team Jade's launch description emphasizes three parts of the map:
infantry street warfare, a moving tug-of-war-style objective, and UH-60 Black Hawk suppressive air support.
That combination creates a map where combat can shift quickly between extremely tight building fights and longer streets where crossing without smoke or cover can get an entire squad wiped.
Is The Mog the Black Hawk Down map?
Yes, in theme and setting, but The Mog is not the Black Hawk Down campaign itself.
Delta Force already has a separate Black Hawk Down co-op campaign based around the 1993 Battle of Mogadishu. The Mog takes the same recognizable visual identity — ruined streets, Black Hawk helicopters, urban fighting and convoy imagery — and adapts it to Warfare multiplayer.
That distinction matters for search intent.
If you want the story-driven Black Hawk Down missions, play the campaign.
If you want a large-scale multiplayer fight in a Black Hawk Down-inspired version of Mogadishu, The Mog is the Warfare map you're looking for.
How The Mog works
The Mog's current Warfare version mixes Attack and Defend sectors with an Escort the Convoy phase.
The attacking side has to create forward momentum through the map. The defenders try to burn the attackers' time and resources before they can complete the next phase.
Unlike a simple linear objective map, The Mog introduces mechanics that can change which area deserves your attention.
Those include:
primary capture objectives, C2 as a Secondary Objective, the moving convoy, checkpoints, the Military Radio, attacker and defender deployment bases, Last Stand, and Black Hawk air support.
Team Jade has repeatedly adjusted these systems since launch, confirming that The Mog is designed around more than simply standing inside one capture circle.
Why taking C doesn't always win on The Mog
This is the most useful tactical point from the supplied video.
Capturing or controlling C does not necessarily mean the match is finished.
One reason is that Team Jade changed C2 from a primary objective into a Secondary Objective shortly after the map released.
That makes objective priority important.
A team can commit a huge number of players to C2, win the gunfight there, and still fail to make meaningful progress if the primary objective, convoy, timer, or other sector conditions are being ignored.
The practical rule is:
Before throwing your squad onto an objective, check what that objective currently accomplishes.
If it is secondary, capturing it may help the push without directly completing the phase.
If the convoy is the real win condition, controlling the streets around its route can matter more than owning a nearby capture point.
If the clock is nearly empty, simply holding territory away from the convoy may accomplish nothing.
This is where The Mog differs from maps where every letter can be treated as equally important.
Delta Force The Mog Sector A guide
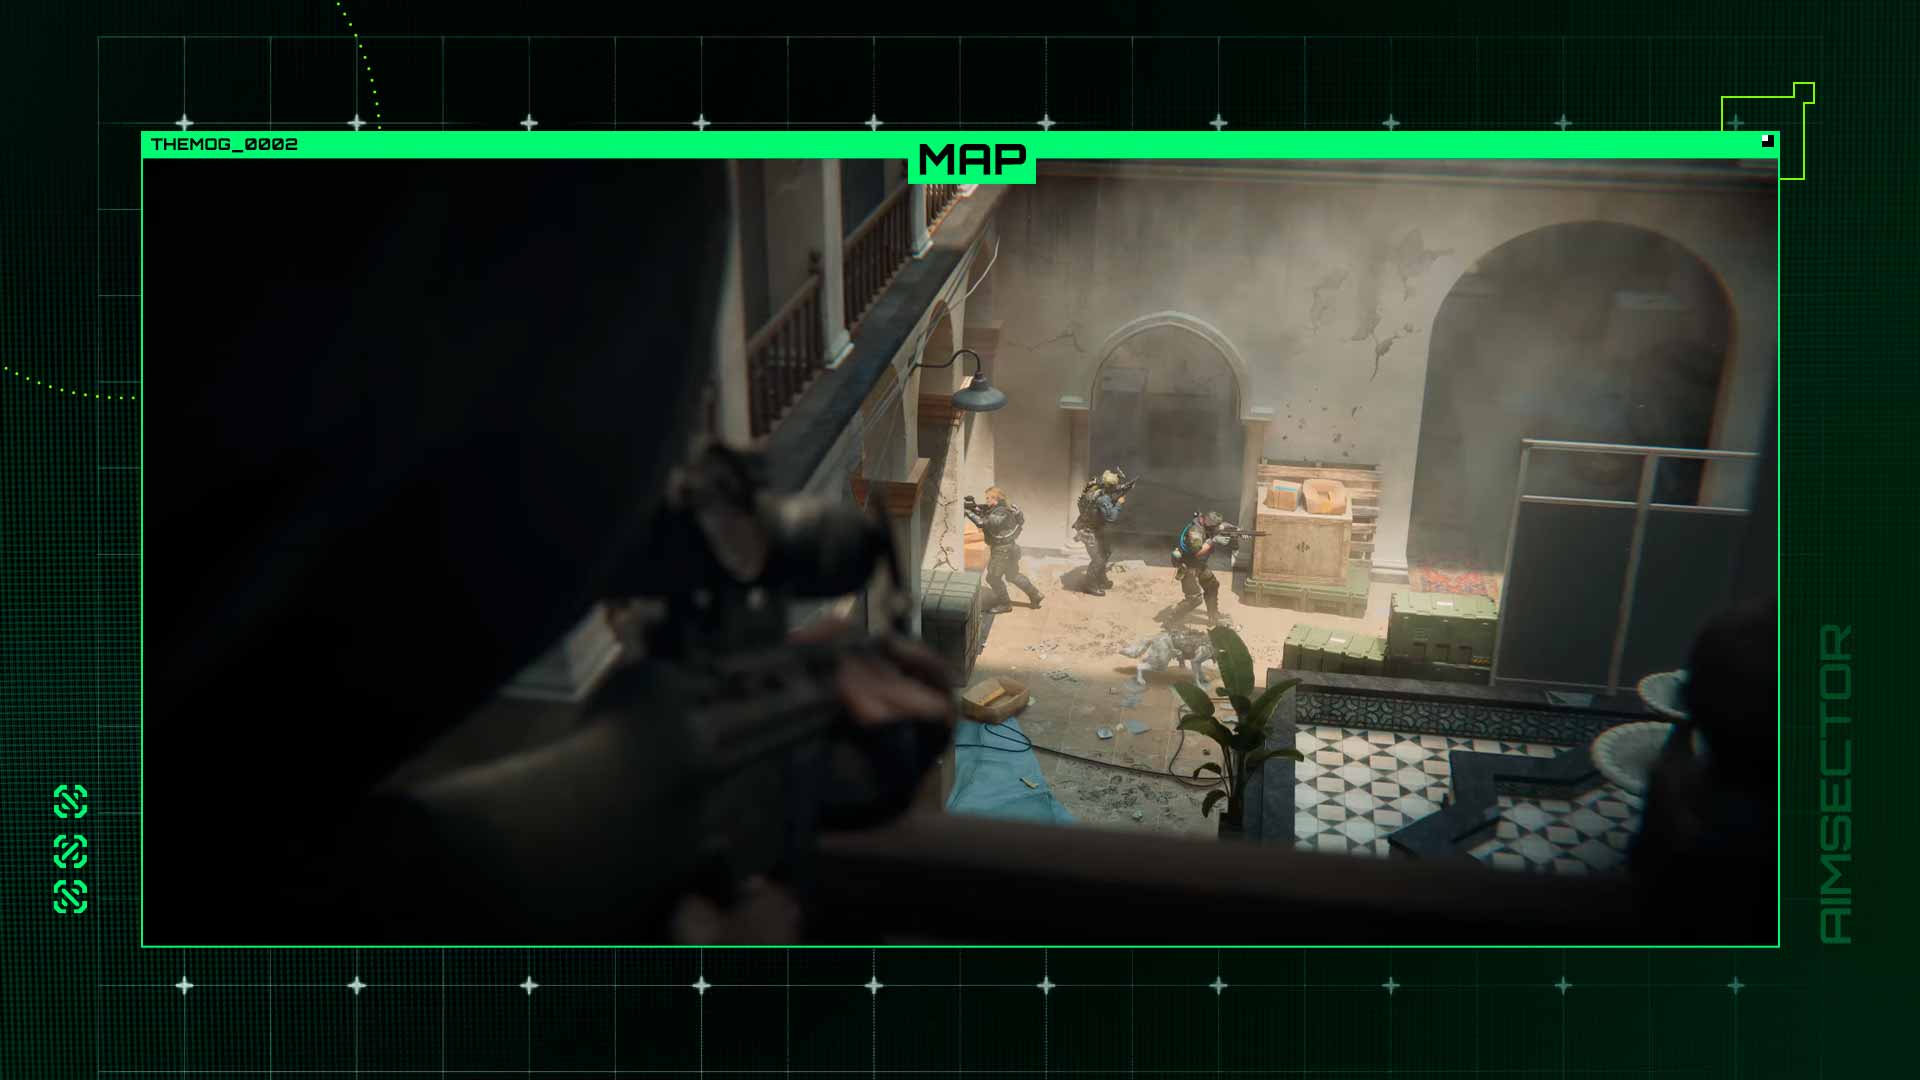
Sector A is where attackers first need to establish momentum.
Team Jade later expanded Objective A's capture area and also expanded the attackers' Deployment Base above Sector A.
The larger capture zone makes it easier for attackers to contribute without stacking everyone into exactly the same small space.
Attacking Sector A
Don't enter through one street as a single mass.
The Mog's dense buildings create many positions from which defenders can fire into obvious approaches.
Use smoke to break longer sightlines, then push through multiple entrances wherever the layout allows it.
Assault Operators can create the first opening, but Support players become especially valuable once several teammates reach the capture area. Keeping five or six players alive on the objective is usually more useful than having another Assault player chasing enemies into side streets.
Once your squad has gained ground, spawn forward rather than repeatedly redeploying from the rear.
Defending Sector A
Your goal is not necessarily to stand directly inside the objective until you die.
Control the approaches that attackers need to reach the capture area.
Force them to use smoke and utility early, then pressure them as they cross between buildings or enter the point.
Because Objective A's capture area was expanded after launch, old defensive positions that covered the original smaller zone may no longer control every attacker contributing to the capture.
Delta Force The Mog Sector B guide
The Sector B deployment positions were changed in the September 10 balance update.
That matters because pre-patch routes and spawn assumptions can now put you behind the active front.
When Sector B begins, check the deployment screen before instantly spawning on muscle memory.
Attacking Sector B
Keep the front moving.
Urban maps often cause players to win a fight and then remain in the building where that fight happened.
On The Mog, that creates dead time.
Once defenders have been cleared from one block, move toward the next useful angle rather than waiting for them to return.
Recon Spawn Beacons can reduce the distance squads need to travel after dying, while Support players can keep the advancing group supplied and revived.
Defending Sector B
Don't allow attackers to establish an uncontested forward spawn.
If you repeatedly kill the same squad and they return almost immediately, look for the Recon Spawn Beacon supporting them.
Destroying the beacon can be more valuable than chasing one more kill.
The changed deployment layout also means defenders need to relearn where enemy reinforcements are most likely to appear rather than assuming the launch version still applies.
Delta Force The Mog Sector C guide
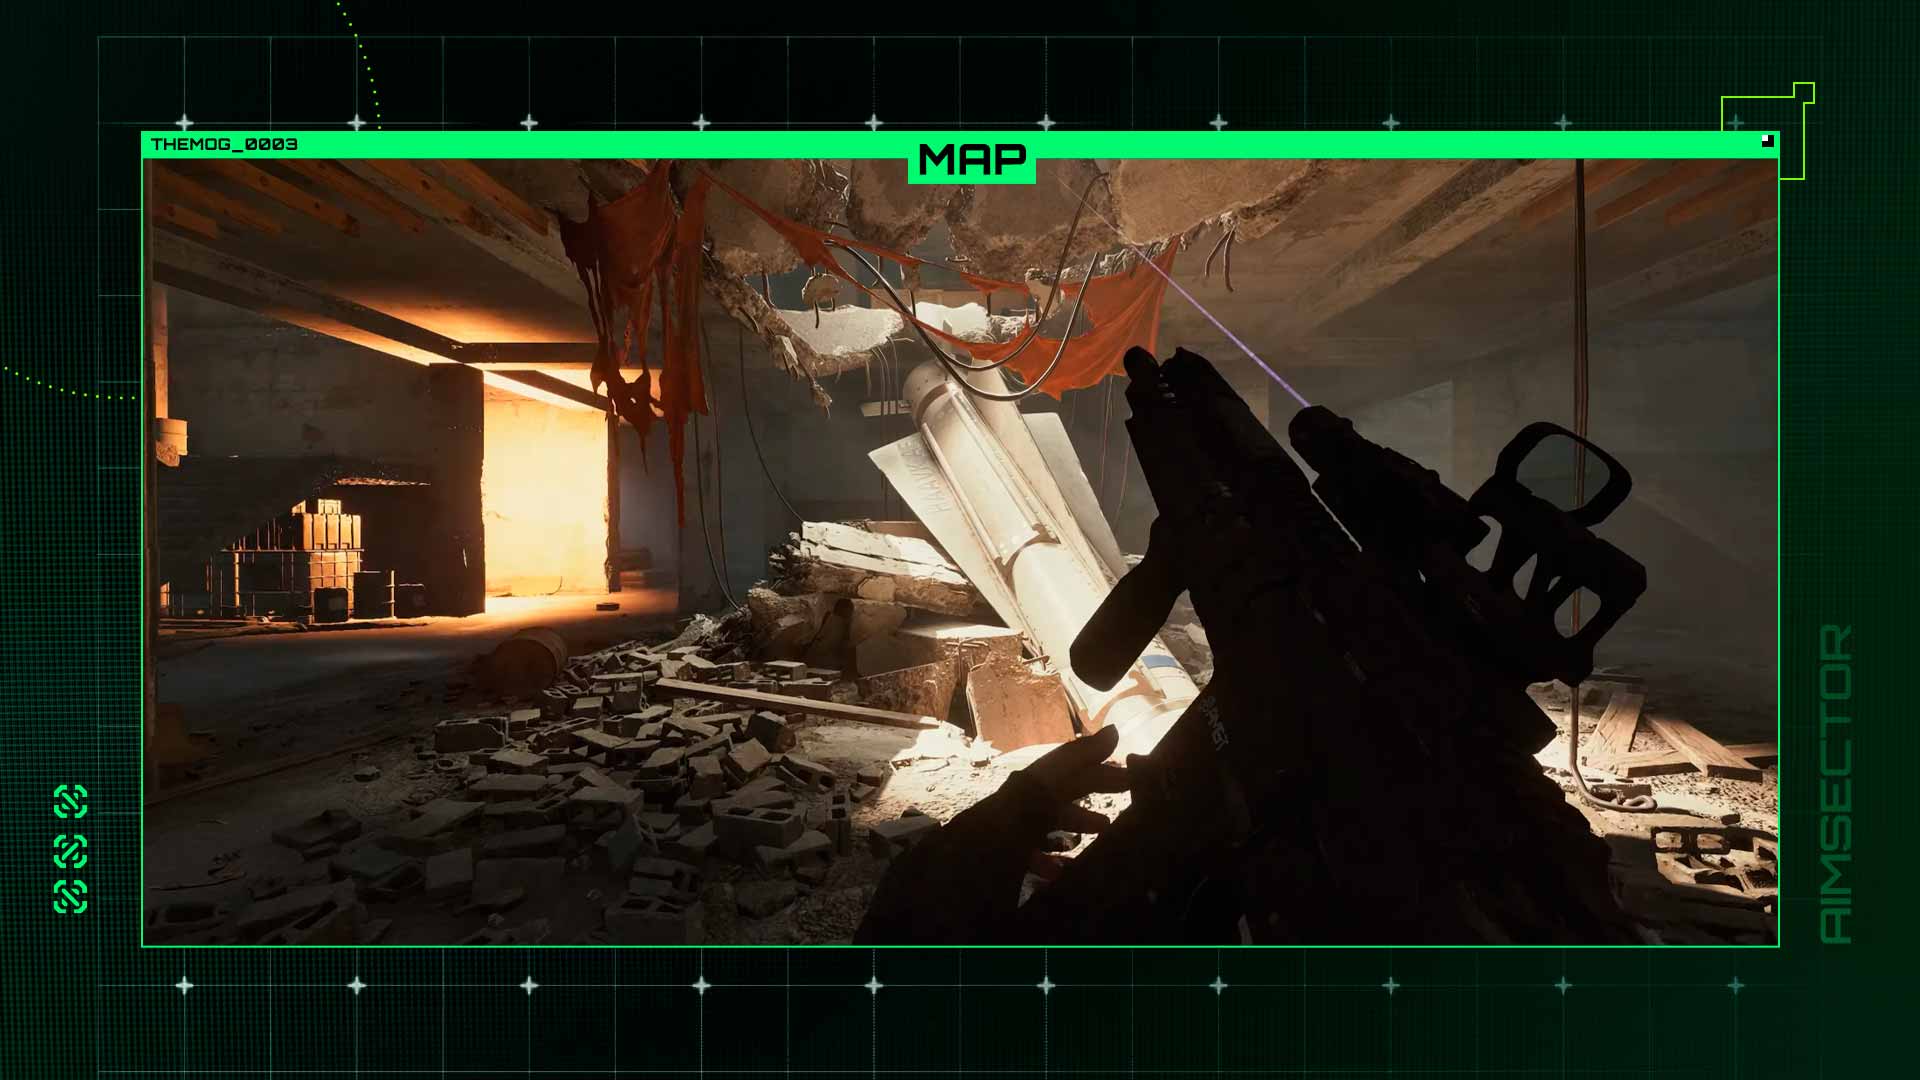
Sector C has received more direct balance attention than any other area mentioned in Team Jade's early The Mog patches.
The September 10 update:
-
changed the boundary and combat area of Sector C;
-
reduced the number of Deployment Bases above the attacking team's position;
-
moved Sector C deployment points;
-
changed C2 into a Secondary Objective.
The September 17 update then expanded the attackers' Deployment Base area in Sector C.
Those changes are why old map guides can be misleading here.
Should you capture C2?
Yes, when it provides the advantage your team needs.
But do not treat C2 as though it were still a primary objective.
Its value is now secondary.
That means sacrificing half the attacking team merely to keep C2 contested can be the wrong decision when the primary objective or convoy needs bodies.
The supplied video's central idea — that taking C doesn't automatically win — is especially relevant here.
Learn to distinguish useful map control from the actual round-winning condition.
How Escort the Convoy works on The Mog
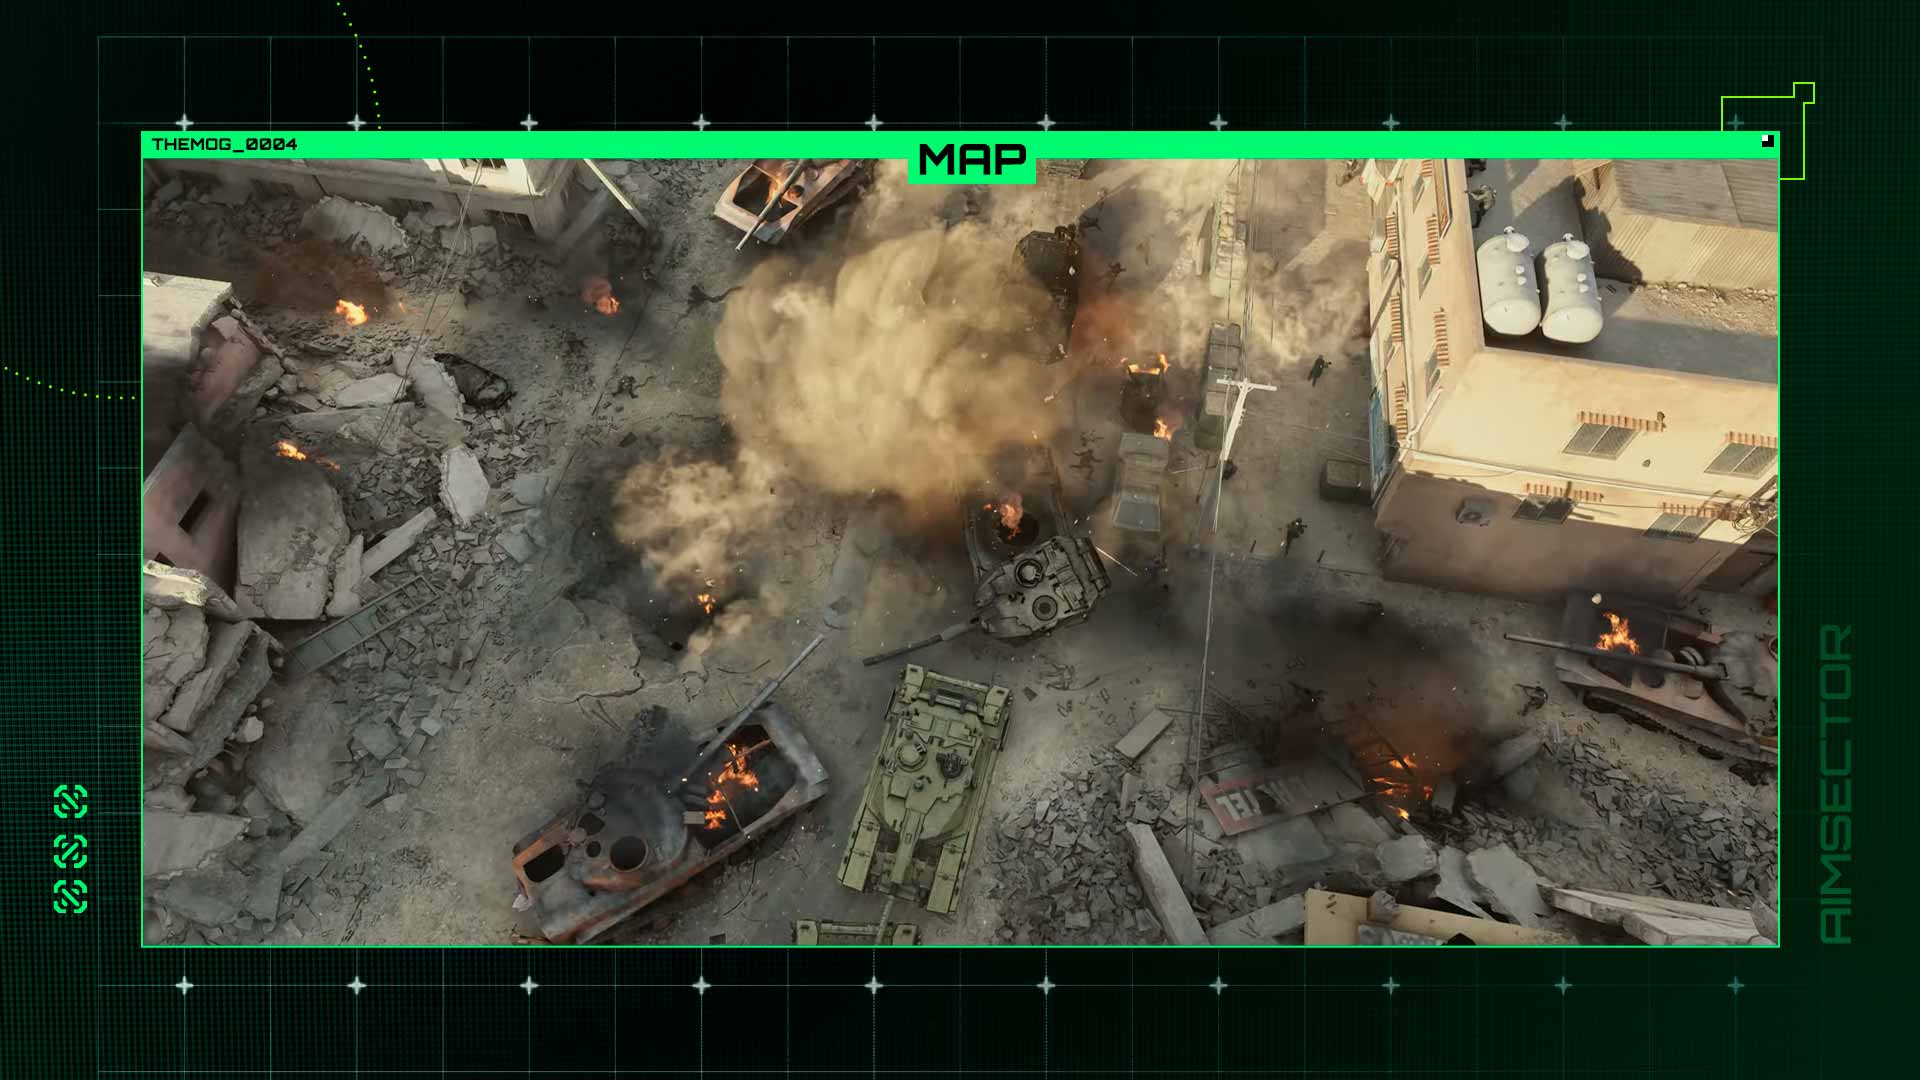
The convoy phase is one of The Mog's defining mechanics.
Attackers need to keep the convoy progressing through its route while defenders try to delay or stop it.
Team Jade made major convoy changes on September 10:
| Current convoy adjustment | Effect |
|---|---|
| Initial timer | 4 minutes 30 seconds |
| Checkpoint bonus | +45 seconds per checkpoint |
| Convoy speed | Increased from launch |
| Anti-vehicle mine damage | Reduced |
| Guided Missile damage | Reduced |
| Artillery Barrage damage | Reduced |
| Attacker deployment distance | Reduced |
| Defender Phase 2 deployment | Adjusted |
The result is a convoy that is harder to stop purely by dumping explosive equipment into it.
How attackers should play the convoy
Don't crowd directly behind the vehicle.
The convoy attracts explosives, rockets, grenades and concentrated rifle fire.
Instead, clear the buildings and side streets ahead and beside the route.
Think of the convoy as the objective marker, not as your cover.
A useful attacking formation has some players physically close enough to keep the objective moving while others occupy windows, corners and routes defenders could use to attack it.
How defenders should stop the convoy
Defending isn't just about damaging the vehicle.
Kill the infantry making it safe to move.
Even after Team Jade reduced the effectiveness of mines, Guided Missiles and Artillery Barrages against the convoy, those tools can still contribute pressure. They simply aren't as dominant as they were at launch.
Forcing attackers away from the convoy also becomes extremely important when the clock is low because of the current Last Stand rules.
How Last Stand works on The Mog
Team Jade adjusted The Mog's Last Stand mechanic on September 17.
When the convoy timer reaches zero, Last Stand triggers if there are more attackers around the convoy than defenders, regardless of the convoy's status.
This creates one of the most important end-of-phase situations on the entire map.
If you're attacking
When the timer approaches zero, bodies around the convoy matter.
This is not the moment for half the team to chase defenders into neighboring buildings.
Attackers need enough local presence to satisfy the Last Stand condition and keep the phase alive.
If you're defending
You can't simply wait for the timer to hit zero while attackers outnumber you beside the convoy.
Clear the convoy area.
Even if you have a strong position elsewhere, the local attacker-versus-defender count can determine whether the fight continues.
This is another example of why objective awareness matters more than raw kills on The Mog.
What is the Military Radio on The Mog?
The Military Radio is another interactable element tied to the convoy phase.
Team Jade changed it on September 17 by:
reducing its interaction time and increasing its radio signal recovery time to 90 seconds.
The exact tactical value depends on the current objective state, but one lesson is universal: if your team is fighting around the radio, don't treat it as random map decoration.
Protect whoever is interacting with it.
On the opposite side, an enemy committing to the radio creates a window in which that player is focused on the interaction instead of shooting.
How the UH-60 Black Hawk works on The Mog
The UH-60 isn't just there for the Black Hawk Down aesthetic.
Team Jade describes The Mog as featuring UH-60 Black Hawk suppressive air support, and the September 17 update specifically:
-
increased the damage of the Black Hawk's machine gun;
-
optimized its patrol route.
That makes the helicopter an active part of how some portions of the map play.
Don't remain exposed on wide streets simply because there isn't an infantry player looking at you.
Use buildings, smoke and hard cover to break exposure when the Black Hawk is operating overhead.
The September buff also means advice recorded before September 17 can underestimate how dangerous its MG currently is.
Best classes for The Mog
There is no single best Operator for every part of The Mog because the map switches between tight infantry fights, moving-objective pressure and anti-vehicle situations.
The four Warfare roles each solve a different problem.
| Class | Why it works on The Mog |
|---|---|
| Assault | Excellent for entering buildings, crossing streets quickly and breaking defensive lines |
| Engineer | Useful against convoy threats and vehicles; can provide technical and anti-vehicle pressure |
| Support | Extremely valuable around dense objectives where many teammates need healing, ammunition and revives |
| Recon | Provides information and forward Spawn Beacons to maintain pressure through the urban sectors |
Best class for attackers
Support and Assault are especially useful during hard objective pushes.
Assault creates the opening.
Support keeps the players occupying that opening alive.
Recon becomes extremely strong once your squad has reached a deep flank because a safe Spawn Beacon prevents the entire rotation from disappearing after one squad wipe.
Best class for defenders
Engineer is valuable when vehicle or convoy pressure becomes important.
Support is excellent in infantry-heavy defensive clusters.
Recon helps identify which routes attackers are actually using, reducing unnecessary rotations between streets.
The best team won't stack one class. It will have enough different tools to solve whichever phase The Mog currently presents.
Best weapons for The Mog
The Mog favors versatile Warfare weapons more than an extreme one-range build.
Many fights happen inside or immediately around buildings, but longer streets create medium-range engagements where an ultra-close-range SMG can struggle.
A controllable assault rifle or battle rifle is therefore a practical default.
SMGs work well when you're deliberately fighting inside buildings or aggressively attacking dense objectives.
LMGs can be valuable for sustained suppression along streets and objective approaches.
Marksman rifles and sniper rifles can exploit long urban sightlines, but avoid becoming disconnected from the moving objective.
The map's biggest trap for long-range players is staying in a strong rooftop or rear position after the frontline moves away.
A good position stops being good when it no longer affects the objective.
Best The Mog loadout philosophy
Build your gun for Warfare, not Operations.
The two modes have separate gameplay priorities and can receive separate weapon balance values.
For The Mog, prioritize a weapon you can reliably use in repeated engagements without having to completely change your positioning whenever the frontline shifts.
Useful traits include:
recoil control, a clean mid-range optic, enough magazine capacity for multi-player fights, and handling that doesn't make indoor engagements painful.
There is no need to force maximum long-range accuracy onto every rifle if doing so makes the weapon too slow for the building fights that dominate parts of The Mog.
The Mog attacker tips
The attacking side benefits most from maintaining momentum.
Once the team wins a block or objective, immediately establish the next safe deployment position.
Use smoke to cross roads rather than challenging every defender watching them.
Stay close enough to the convoy to influence Last Stand when the clock is low.
Treat C2 as a tactical secondary objective instead of assuming it is always the entire phase.
Clear defenders from positions ahead of the convoy instead of using the convoy itself as cover.
And watch your deployment screen. The Sector B and C spawns changed after launch, while attacker Deployment Base areas in A and C were expanded later.
The Mog defender tips
Defenders win by consuming attacker time.
That does not always require holding the most forward possible position.
Make attackers clear buildings.
Force them to spend smoke and utility crossing streets.
Destroy Spawn Beacons so dead attackers have to travel farther.
During the convoy phase, kill the infantry controlling its route rather than concentrating every player on direct convoy damage.
When time is almost gone, contest the immediate convoy area so attackers cannot trigger Last Stand simply through superior local numbers.
And don't overcommit to C2 after its conversion to a Secondary Objective.
A beautiful defense of the wrong objective is still a bad defense.
Use smoke aggressively on The Mog
Few Warfare maps give smoke more obvious value.
The Mog contains streets where multiple buildings can overlook the same crossing.
Trying to kill every possible defender before crossing can stall an attack indefinitely.
Smoke removes several of those sightlines simultaneously.
Use it to cross roads, revive teammates, cover convoy movement and isolate parts of an objective.
Smoke is less useful when thrown directly on your own firing position without a reason, because it can prevent your own team from seeing the enemies it needs to stop.
Think about whose vision you're removing.
Don't ignore the buildings
The obvious street route is rarely the only fight taking place.
Urban buildings let infantry attack objectives from different heights and angles.
Before entering an important street, check windows and elevated positions.
After clearing a building, decide whether holding it actually gives sight over the current objective.
Don't stay merely because the position produced several kills.
The supplied video centers on exactly this broader lesson: controlling one location does not necessarily mean you're controlling what wins the phase.
Spawn Beacons are extremely valuable
The Mog's biggest enemy is sometimes travel time.
A squad can make an excellent flank, die once, and then spend the next minute trying to repeat the same route.
A well-hidden Recon Spawn Beacon changes that.
Place it away from obvious objective entrances, but close enough that spawning players can return to the fight quickly.
If an enemy squad seems to keep appearing from the same side street after being wiped, hunt for its beacon.
Removing one can collapse an entire flank.
Revive before the frontline disappears
Support players can generate enormous value on The Mog because so many fights concentrate several players in small areas.
A revived teammate does more than restore one player.
It prevents that player from spawning far behind the moving front and having to travel back.
That is especially valuable around the convoy.
Use smoke or hard cover first when necessary. Blindly reviving someone in the same exposed street where they were just shot generally produces two casualties instead of one.
Don't chase kills away from the convoy
One of the easiest ways to lose The Mog is winning the wrong gunfight.
You eliminate one defender.
They retreat.
You follow them into a side street.
Then another enemy kills the players remaining on the convoy and stops its progress.
The kill feed can make it feel as if you're winning while the objective says otherwise.
Whenever you are about to chase somebody away from the fight, ask whether killing that player is worth removing yourself from the objective.
Current The Mog balance changes
Older competitor guides are already missing part of the current map state.
September 10 changes
Team Jade:
-
changed Sector B and C deployment locations;
-
changed Sector C's combat boundaries;
-
reduced Deployment Bases above the attackers in Sector C;
-
made C2 a Secondary Objective;
-
reduced convoy damage from anti-vehicle mines, Guided Missiles and Artillery Barrages;
-
increased convoy movement speed;
-
set the convoy timer to 4:30 initially with +45 seconds per checkpoint;
-
shortened attacker deployment distance to the convoy;
-
changed defender deployment locations in Phase 2.
September 17 changes
Team Jade then:
-
changed Last Stand so it triggers at zero time when attackers outnumber defenders around the convoy;
-
reduced Military Radio interaction time;
-
increased radio recovery time to 90 seconds;
-
expanded Objective A's capture zone;
-
expanded attacker Deployment Base areas in Sectors A and C;
-
increased UH-60 Black Hawk MG damage;
-
optimized the Black Hawk patrol route.
Those September 17 changes are particularly important because guides published before then are no longer describing the complete live version of The Mog.
The Mog FAQ
Is The Mog a Warfare map?
Yes. The Mog is a Delta Force Warfare map built for the game's large-scale multiplayer mode. Warfare supports up to 32v32 players.
When was The Mog released?
The Mog released on September 8, 2026 with the Reorientation season.
Is The Mog based on Black Hawk Down?
Yes. The Mog deliberately returns to the Mogadishu/Black Hawk Down identity associated with Delta Force, but it is a multiplayer Warfare battlefield rather than the standalone co-op campaign.
Is The Mog 32v32?
Yes. Warfare supports 64-player, 32v32 battles on its large-scale maps.
What is the main objective on The Mog?
The Mog uses an Attack and Defend structure that includes an Escort the Convoy phase, along with sector objectives, secondary objectives, deployment mechanics and UH-60 air support.
Is C2 a main objective on The Mog?
No. C2 is currently a Secondary Objective. Team Jade changed it from its original objective status in the September 10 update.
Why doesn't capturing C always win?
Because the current phase can depend on other primary objectives, the convoy, the timer and other win conditions. C2 is specifically classified as a Secondary Objective, so taking it does not automatically mean the attackers have completed the phase.
How much time does the convoy get?
The current official balance values give the convoy 4 minutes 30 seconds initially, with 45 seconds added at each checkpoint.
What is Last Stand on The Mog?
When the convoy countdown reaches zero, Last Stand can trigger if attackers around the convoy outnumber defenders, regardless of the convoy's status.
What does the Military Radio do?
The Military Radio is an interactive mechanic during the convoy phase. Team Jade reduced its interaction time and set its radio signal recovery time to 90 seconds in the September 17 balance pass.
Does The Mog have Black Hawk air support?
Yes. The map features UH-60 Black Hawk suppressive air support. Team Jade later increased its MG damage and optimized its patrol route.
What is the best class for The Mog?
There is no universal best class. Assault is strong for entries, Support for dense objective fights and revives, Recon for information and forward spawning, and Engineer for anti-vehicle and technical utility.
What weapons are good on The Mog?
Versatile assault rifles and battle rifles are strong general choices because The Mog mixes indoor combat with medium-range street fights. SMGs excel in buildings, while LMGs and precision weapons can control longer urban sightlines.
The most important The Mog strategy
The biggest mistake on The Mog is confusing winning a fight with winning the objective.
You can own a building and still lose the sector.
You can capture C2 and still have more work to do.
You can finish with dozens of kills while the convoy never reaches its next checkpoint.
The supplied video's title summarizes the map unusually well: taking C doesn't always win.
Read the objective state before deciding where to fight.
If the convoy matters, protect or stop the convoy.
If Last Stand is approaching, control the players immediately around it.
If C2 is only secondary, don't sacrifice the primary push just to hold it.
And when the frontline moves through another block of Mogadishu, move with it.
On The Mog, the best position is rarely the place where you can get the most kills.
It's the place where those kills actually change the match.